I help gardeners grow
& beginners blossom.
No seed left behind,
no soil unturned.
Together we can have lots of fun growing
great gardens using simple practical tips.
- Featured in -


Start saving & storing your garden seeds for a more more sustainable future
SIGN UP to get the FREE Seed packet PDF

X CLOSE

How To Grow Micro-Greens indoors
Still Making Fresh Salad: How-To Grow Micro-Greens Indoors
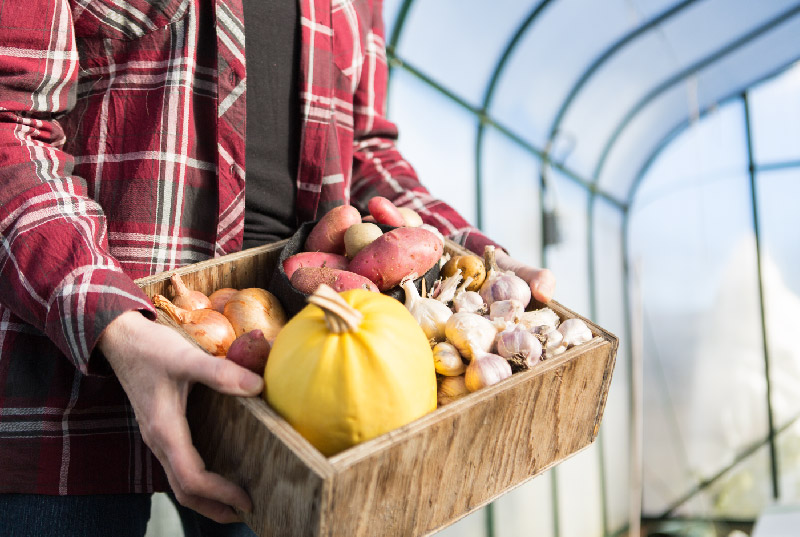
Yes it is February and it is the deepest part of winter. My plants in the greenhouse are still supplying nutritious cabbage, kale and Bok choi and I have squash in the cupboard and potatoes in a box in the garage. But let’s face it, fresh sweet greens are in short supply. Unless you are growing micro-greens indoors.

Cabbage, like this January King variety shown in late January in my greenhouse, gets very red when exposed to cold winter temperatures, but the leaves are pale green on the inside. After peeling off the ragged outer leaves, this beautiful cabbage was chopped into a crisp cabbage salad last week!

Pea shoots sprout from seed to edible greens in eight days!
Our fresh pea and basil sprouts grown indoors have the sweet tender taste of garden peas and fresh basil. We serve them with salad or all on their own with a splash of olive oil and a sprinkle of sea salt. At other times we clip them as a salad topping or serve them on the side as garnish. If you haven’t grown your own micro-greens yet what are you waiting for? It only takes a week! And because the easiest micro-greens to grow are pea shoots I am providing the How-to info you need here.
PS Sprouts are different from micro-greens. Sprouts grow in a jar and are rinsed daily with water. They are delicious but not as green as micro-greens, the little plants you eat when they have three or more sets of leaves.

Measure out seeds into an empty container to make sure you have enough seed to fill most of the space on top of the soil. Two tablespoons fill a small 5 inch by 3 inch container.
GROWING PEA MICRO-GREENS
Step 1: Order organic seed from a reliable source. Buy a variety you will be happy with for outdoor growth later. I love pea micro-greens so I order organic Canadian grown Oregon Giant Peas from Mumm’s Sprouting Seeds. PS Some garden centres carry bulk packages of seed so check them first if you want to start today.
Step 2: Measure seed to fit the container you have, then soak seed overnight or for at least for 6 hours to fully hydrate them.


Soaking the pre-measured amount of seed overnight before planting helps it grow faster. Drain seed before planting in pro-mix or other brand of potting mix.
Step 3: Lightly fill your container with potting mix (like pro-mix) and tap container on counter to level soil. Sprinkle measured seed on the top of the soil and then lightly cover seed with another layer of soil and gently water. It is okay if you see parts of the seed through the soil after watering.
Step 4: Put your container in a warm spot. This could be over a heat mat or just on top of your fridge where the heat from the motor keeps things toasty. No need for grow lights at this stage.
Step 5: THIS IS THE MOST IMPORTANT PART. Put something heavy over the seeds you have soaked and planted. I like to sandwich one of the same containers as the one I’ve seeded on top of the seeded container. On top of that, a few rocks or other weight will press down on the seeds.

After about three days the seeds germinate and push their heavy “lid” up and off. At this stage they are still pale and anemic looking
Step 6: Check daily to see if seeds are pushing up. If you don’t have a heavy “lid” over the seeds they will push sideways and flop over instead of pushing straight up. As soon as most of the seeds are sprouting and looking like baby dinosaur heads (a description I got from my four-year old grandson) I take off the heavy cover and put the seeds under grow lights or anywhere in the kitchen.

I find within a day of removing the cover the peas start to green up. At this stage they look like baby dinosaurs.

By day five the sprouts are green and starting to straighten out. I leave them on top of my grow lights – rather than under them – so they still get the warmth but start to stretch for the light

By day 6 the peas are getting their real leaves and growing taller. I make sure they are moist but not soaking wet.

Greens grown in a windowsill will be tall and leggy compared to those grown under lights. That way they look more like the “store-bought” micro-greens you might buy. To serve them simply cut them down to the lowest leaf. They will re-sprout from there and can be cut back at least four times.
Step six: By day 8 you can cut the greens you want. If you cut just above a leaf you will trigger another shoot to sprout and the harvest will stretch out two or three weeks or longer. Start more peas soaking when these are ready to keep the goodness coming.

If you accidentally grow too many peas at once you can “store” them in a cool greenhouse so they grow slower. I like to start new peas weekly during the early spring.
Bonus: When you notice the harvest slow down, dump the soil and remaining roots and leaves into your compost or – if the spring is early in your area, grab clumps of the seedlings and plant them directly in the garden. I do this in mid-March and nothing is lost if they are frozen outside because I have plenty more where these came from and seeds are cheap. By then I have already had my fill of greens and gotten my money’s worth from the seed. Any other growth is a bonus. Last year I planted the harvested greens in my garden and had early peas in June!
Spinach anyone? I also grow spinach as micro-greens and then transplant into the greenhouse or garden after first cut!

Spinach can be tough to grow in the garden but if you start it first as micro-greens and then plant it you’ll have greater success this spring.

Oregon Giant peas are open pollinated so you can save the seed for future years too!
Donna Balzer is the Brand Ambassador for BCGreenhouse Builders and she has two greenhouses in her big backyard.


[supsystic-social-sharing id='1']


What Would Donna Do?
Get my growing and gardening tips and pointers throughout the season.
0 Comments