I help gardeners grow
& beginners blossom.
No seed left behind,
no soil unturned.
Together we can have lots of fun growing
great gardens using simple practical tips.
- Featured in -


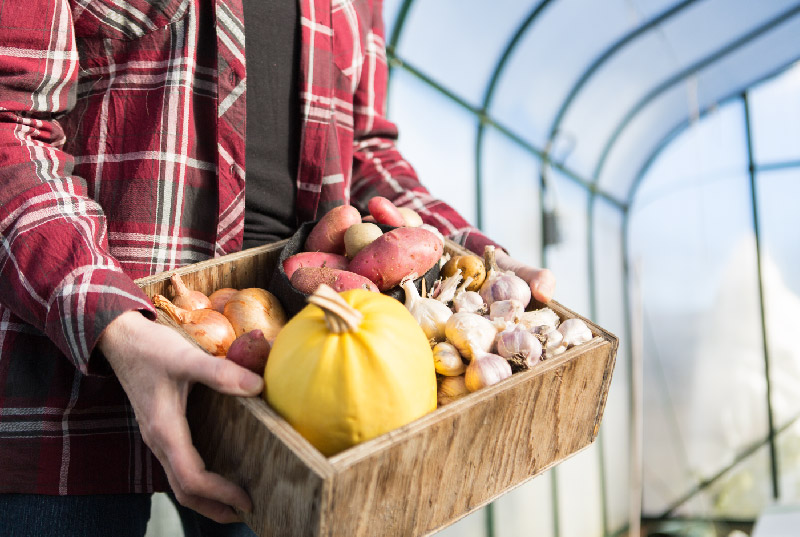
Start saving & storing your garden seeds for a more more sustainable future
SIGN UP to get the FREE Seed packet PDF

X CLOSE

Growing From Seed: Get Started Now
Growing From Seed and Other February Jobs
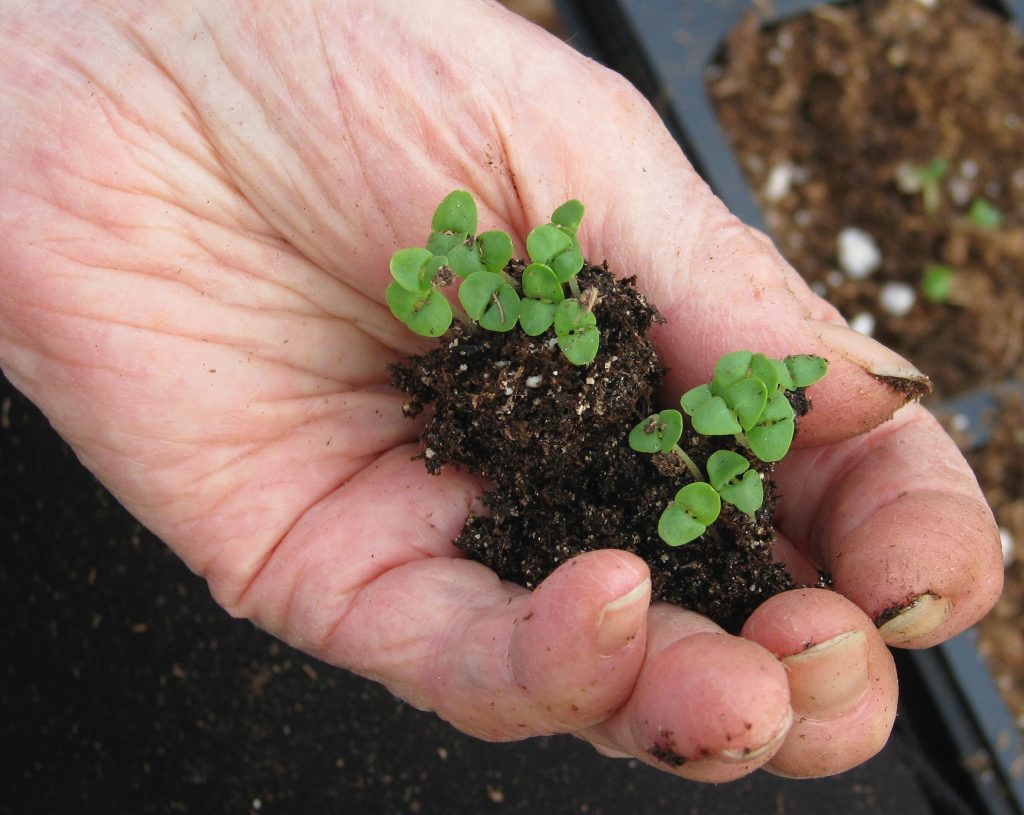
After seeding – what next? This is a photo of my 90-plus mother’s hand holding basil. Della gardened all her life and loved to get her hands dirty.
My Moth Orchid started budding from a dormant flower stem so I trimmed it and gave it a little fertilizer.
My lemon cuttings suddenly shoot up 10 cm tall above the cutting height. I move them into individual bigger pots and water them.
Seeds are arriving daily. Do you think I Covid-panicked and ordered too much? Slow growing things like onions, leeks, celery and celeriac need a head start on spring so I am finding the packages as I get ready to plant.
But it is a sunny day so I head outside on my way to the greenhouse and suddenly I am sharpening shears and pruning my fruit trees.
It is officially February and there are suddenly so many jobs a gardener can be tackling. But if you don’t have an apple tree, an orchid or sprouting lemons you are probably focussed on starting seeds this month. Growing from seed is one of the most rewarding tasks facing gardeners.
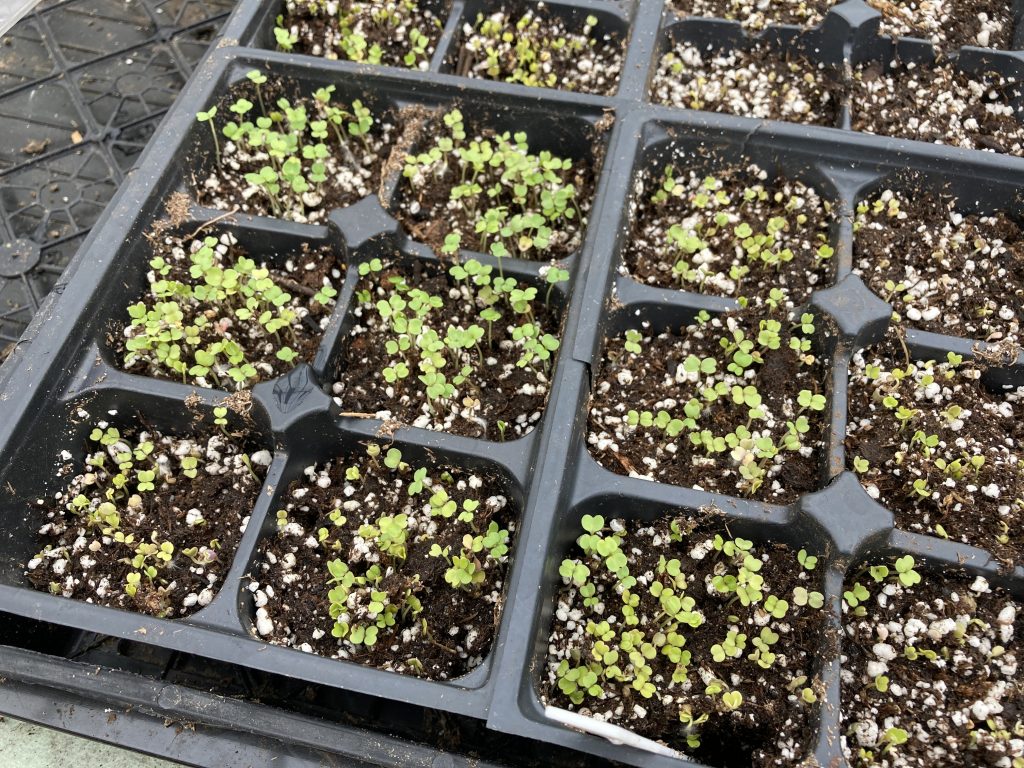
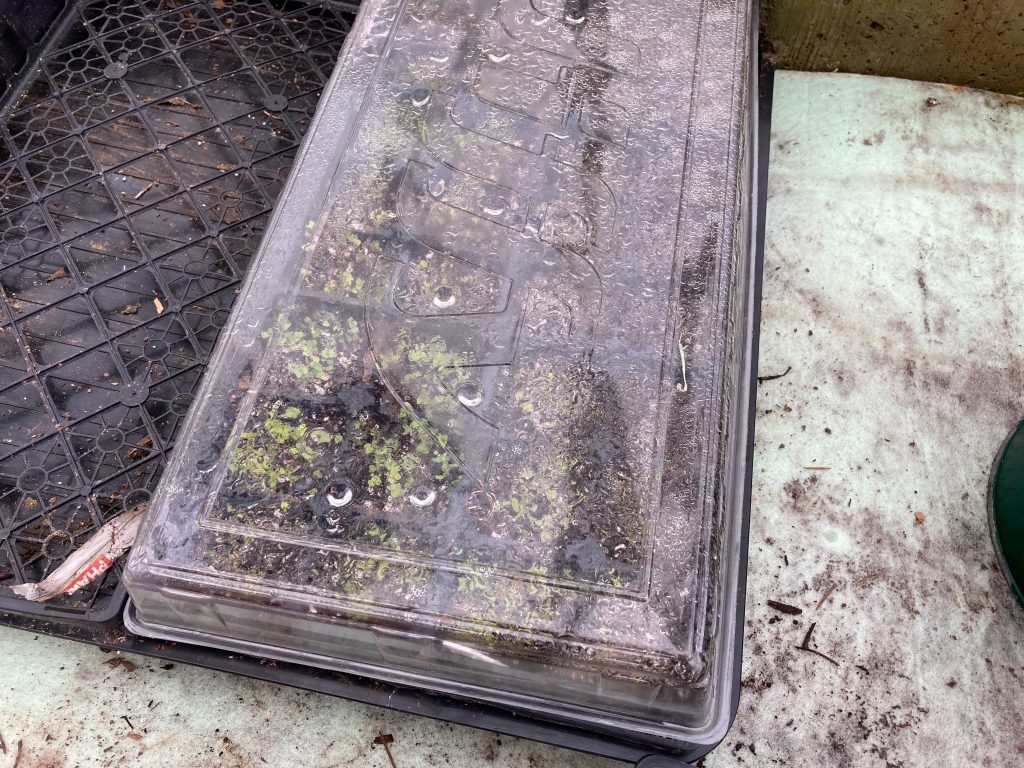
Arugula seeds germinate quickly and can be started in open flats or inserts. I like the inserts because they separate the seed into tiny groups.
Step 1: Get organized
Write the year on your seed packets as they arrive. It is entirely possibly you won’t start or grow a whole package of any one thing this year and you don’t want to mix up new seed with old seed.
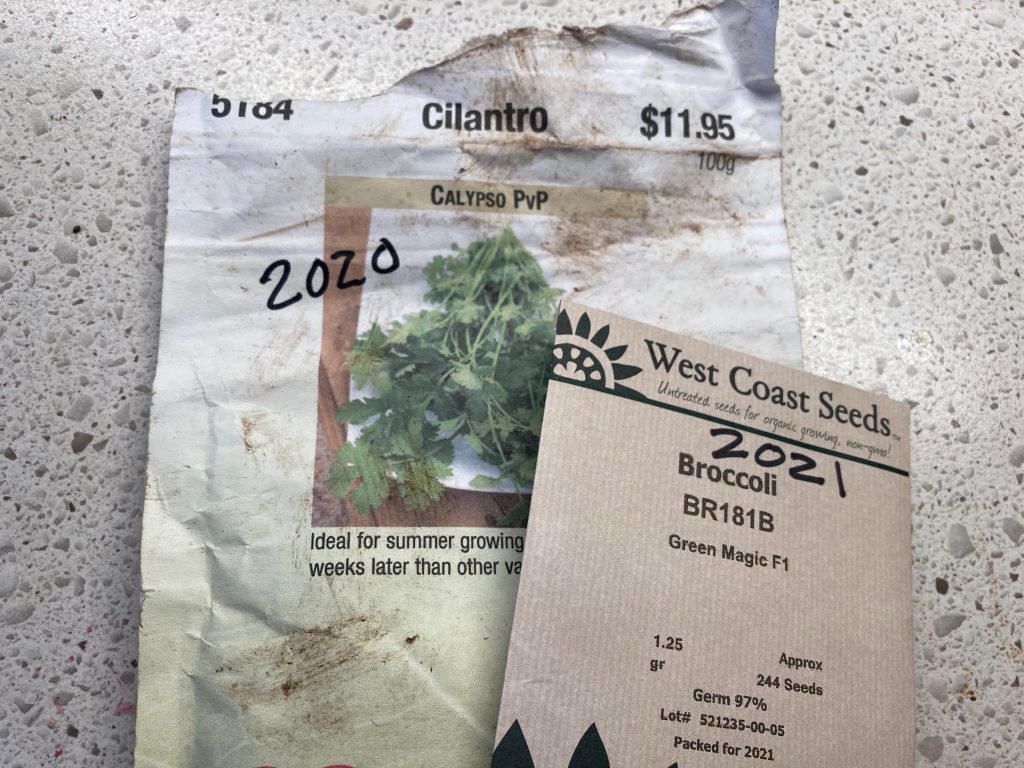
I use a marker to quickly write the year on seed packs as they arrive. Then I add them to my growing collection of seeds stored alphabetically.
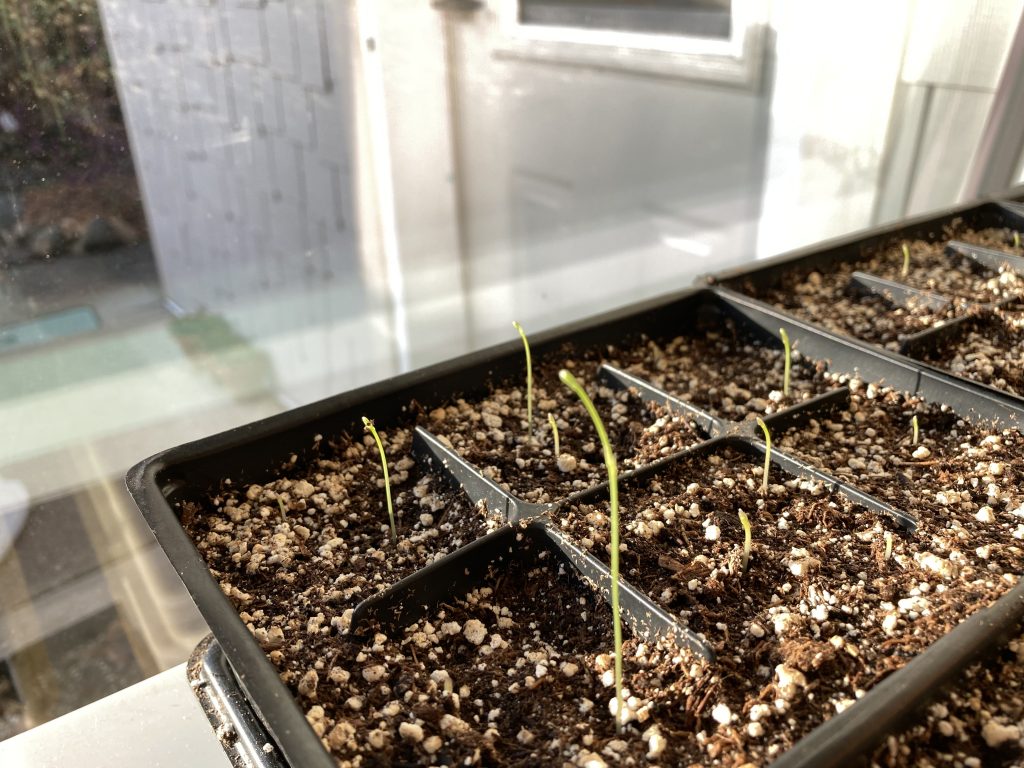
Tiny asparagus seeds sprout and the long thin seedlings grow towards the light. Until they sprout, there is no need for light. Once they sprout, keep the trays 15 cm below the light, moving the lights up as the seedlings grow.
Seeds can be started in separate cells or divided up later once they have more than the first set of leaves.
Step 2: Clean or buy new inserts for flats
Inserts are made of thin plastic and are washed with soapy water before re-use. This means there won’t be any accidental diseases carried from one crop to the next.
Inserts come in different sizes but I really like the ones with 6 plants per segment. With six plants per pack and 6 little packs within each tray so you have room for 36 plants per standard tray.

Several insert sizes all fit into the basic 11 x 22 trays.
Step 3: Buy or make labels
One of my neighbours got a lovely red Kuri squash plant from me last year. She was happy with it but what she really wanted was a zucchini plant. Oops. I ran out of labels part way through the season last year and thought I would remember what everything was even though young zucchini plants look the same as other young squash plants. Lesson learned.

Labels made from old venetian blinds or yogurt containers work as long as you have these to work with. Instead of risking running out I ordered a big box of 1,000 wooden labels this year.
I never want to run out again so I ordered a big box of labels this year. I used to make labels out of old venetian curtains cut to size but once those curtains were gone I had to be more flexible. I used cut up yogurt containers for a while and then finally started buying labels when all those were gone.
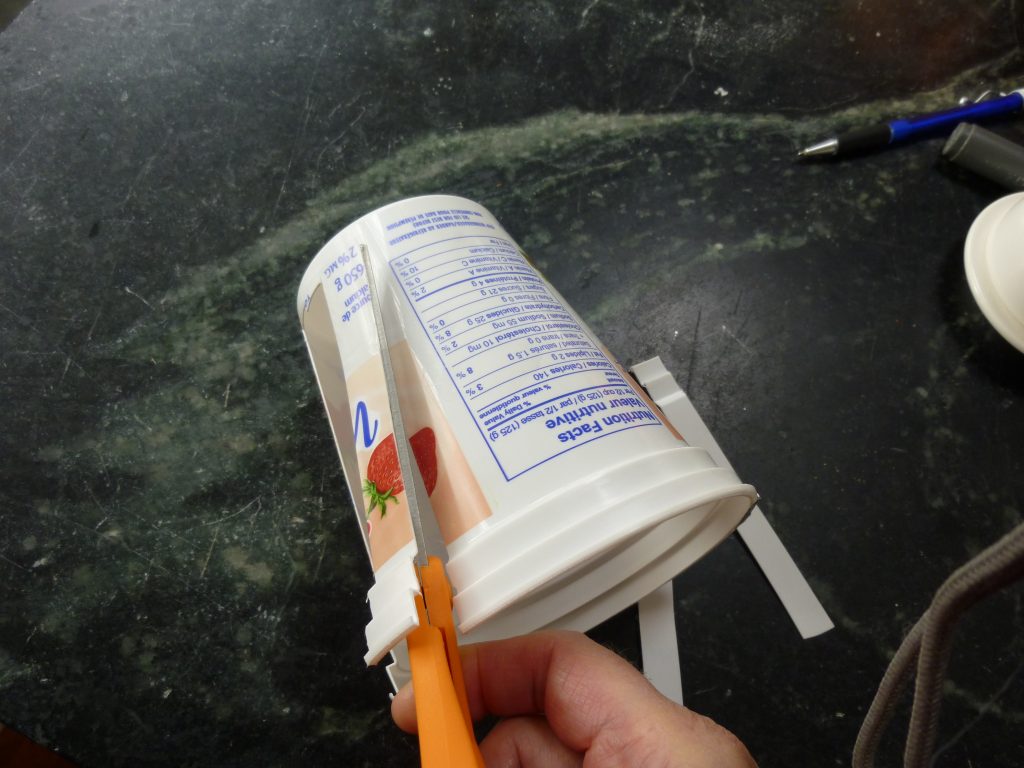
Cutting containers for labels saves time if you have containers.
Use a black sharpie pen to write name and date on labels. Do this before you even open the seed packages. You’ll be glad you did. You just never know when the phone will ring or a friend or spouse will ask a question and you are suddenly distracted.
Step 4: Buy Potting Mix
I always use pro-mix potting mix. Just the regular Bx or HP (high porosity) compacted bales. You can also buy 30 or 60 Litre bags but remember you get 104 litres in a large bag so you can compare prices and guess how much you will use before you get started. I used 1000 litres of Pro-mix last year (10 bags) so I am glad I wasn’t buying dozens of little bags.
Tiny asparagus seeds sprout and the long thin seedlings grow towards the light. Until they sprout, there is no need for light. Once they sprout, keep the trays 15 cm below the light, moving the lights up as the seedlings grow.
Never buy the special pre-mixed or seedling mix or ferilizer-mixed products. You don’t need them for starting seeds. Just buy one soil and use it for everything.
Step 5: Seeding
Loosen soil in a big clean garbage pail and add warm water so it looks and feels fluffy and light. The add soil to each container and lightly drop the container on the working surface so the soil settles. Never press of pack soil tightly into containers. Add the label to the container you are seeding and then sprinkle seeds into the container of choice.
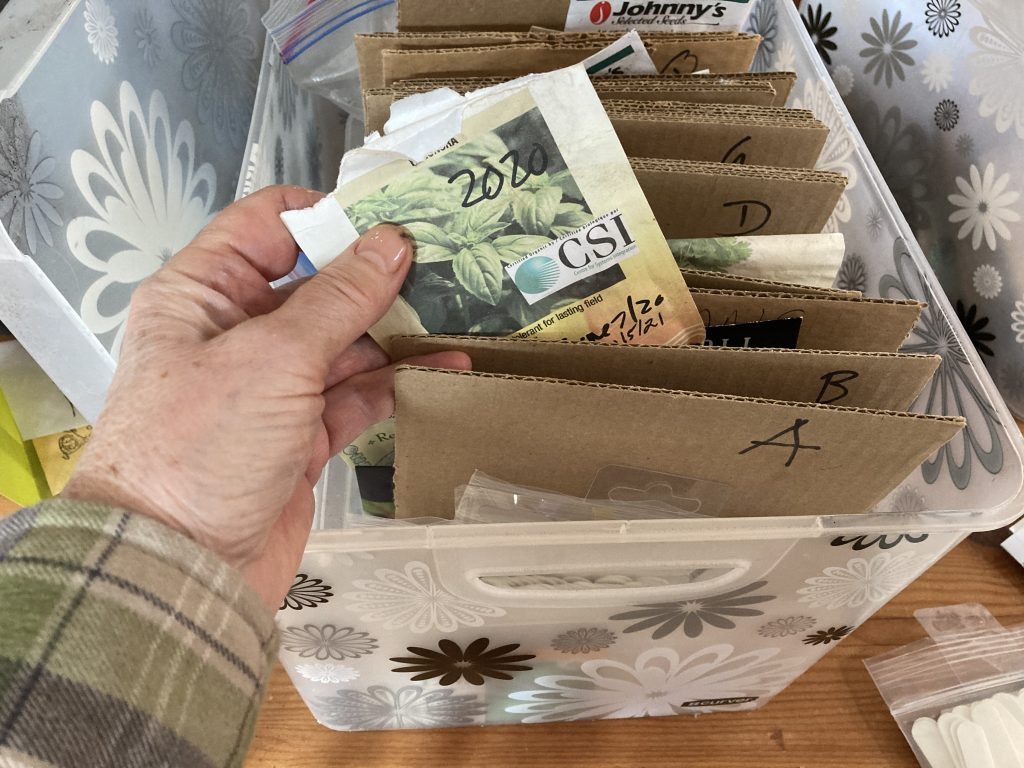
I store seeds indoors alphabetically with sheets of cardboard dividing different seed packages. This makes them easy to find when it is time to seed.
Finally, rub a bit of extra pre-moistened soil between your hands over the containers so you have a light top-dressing of soil over the seeds. The exception to this rule is lettuce. It likes to sit right on top of soil. Gently water or mist the surface to make sure soil is wet enough to trigger seed germination.
Step 6: Covering containers
If you don’t have a reusable plastic cover you can use a damp piece of newspaper over each tray. But you will have to mist the paper daily to keep it moist until seeds sprout.
I like the plastic domes sold for seedling trays. I buy them in different depths because small seeds only need a cover until they sprout so there is no need for a tall cover. Larger plants like fig or lemon cuttings need a taller plastic cap.
Here Basil is seeded in clumps into divided inserts. Later I can either separate seedlings into individual plants or move each clump to a larger pot for a really full appearance.
This cover holds in humidity so you probably won’t have to water again until seeds start to come up.
Step 7: Place seeded tray over heat
I have a heat mat and I have heating cables. I lay the trays right on top of the heat mat so the germination happens quickly. If you don’t have a heat mat you can set trays on a warm heated floor in your house or a greenhouse bed with heating cables. It is very important to keep soil warm so seeds germinate evenly and quickly. The exception is celeriac. They prefer warm days and cool nights, so plug your heat mat into a timer so the heat turns off at night.
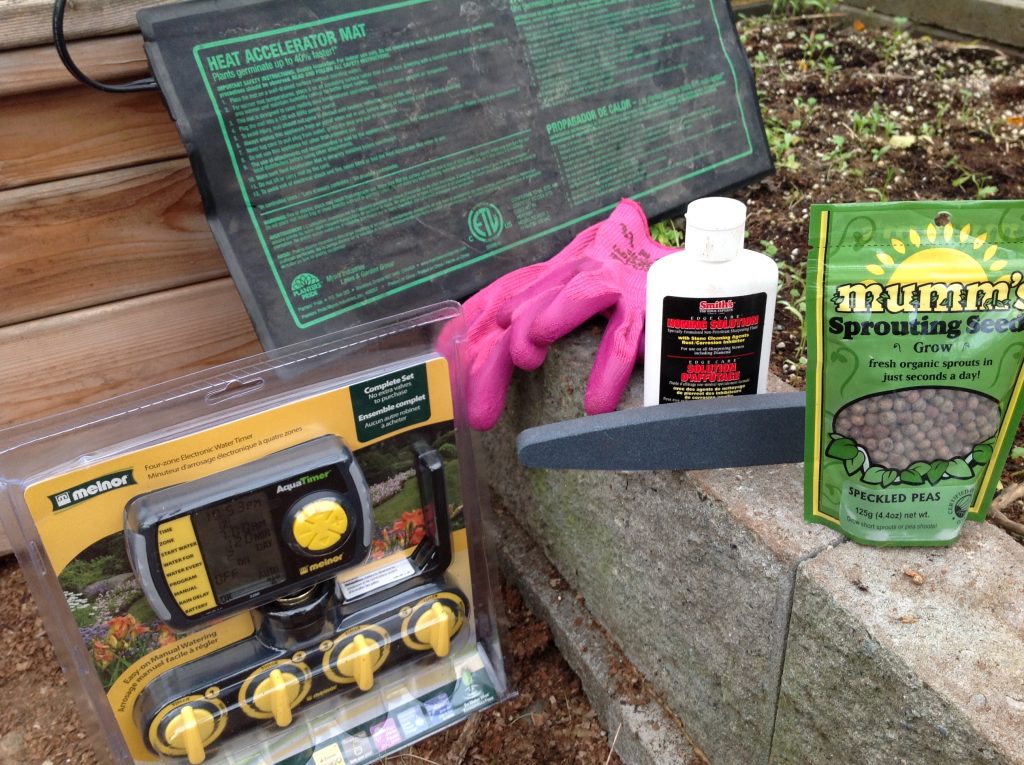
Some of my favourite garden things include a heat mat (at rear) because it keeps soil temperature even and cozy until seeds germinate.
Step 8: watch and wait
Seeds germinate within 2-15 days. The fastest to sprout include lettuce and arugula ( 2 days) and the longest are parsley and celery (1-15 days). From the time the seed is planted in warm moist soil it needs to be kept evenly moist so it will provide the best conditions for growing. If you leave a freshly seeded tray untended it could dry out and the seeds will die.
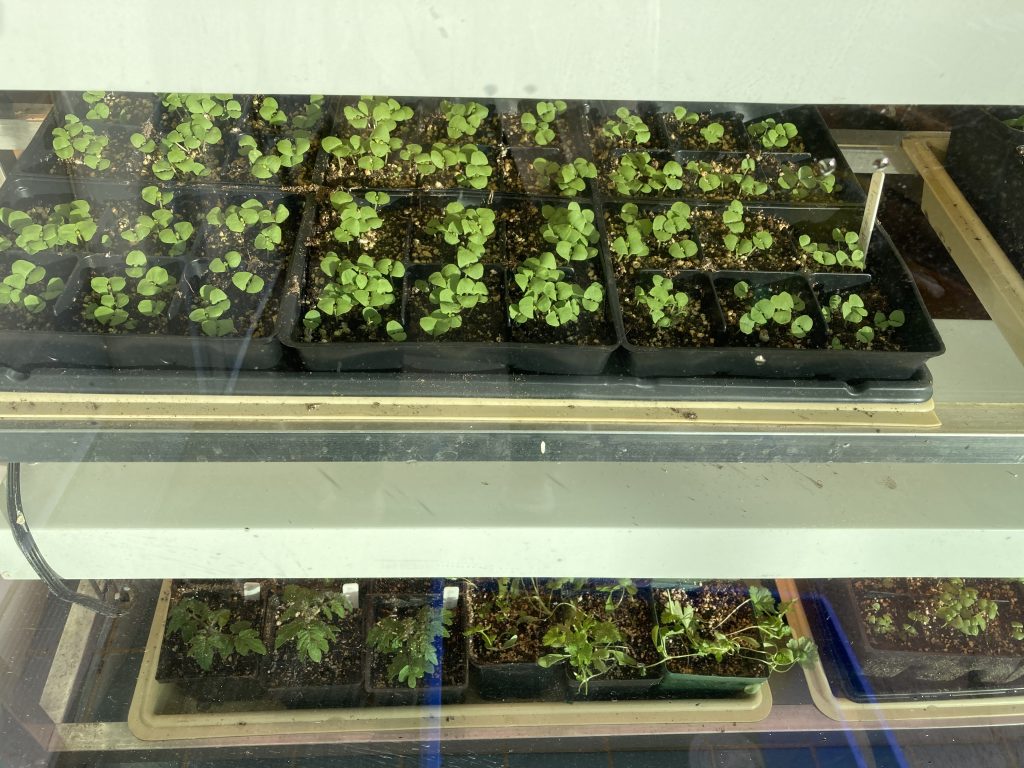
As soon as at least 50% of the seeds have sprouted remove the plastic cover and move the insert or tray under lights so they can begin to grow and develop. Before seeds sprout they don’t need to be under grow lights.

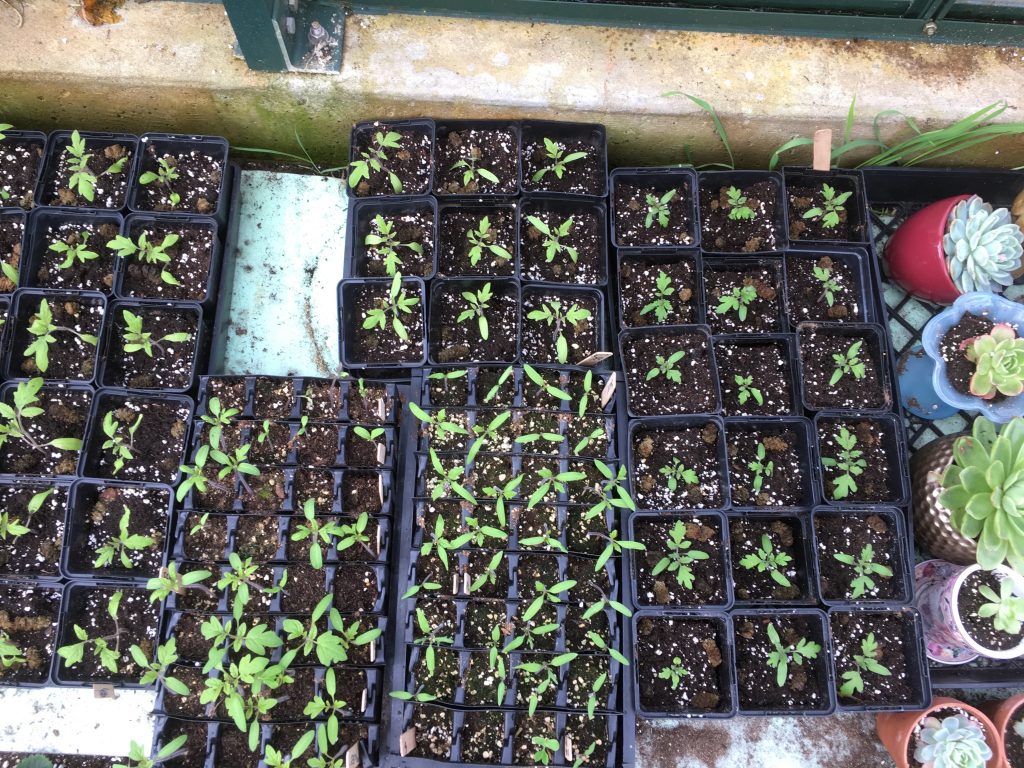
Growing seedlings in trays are perfect at eye-level on shelves in my greenhouse where I can keep my eye on them.
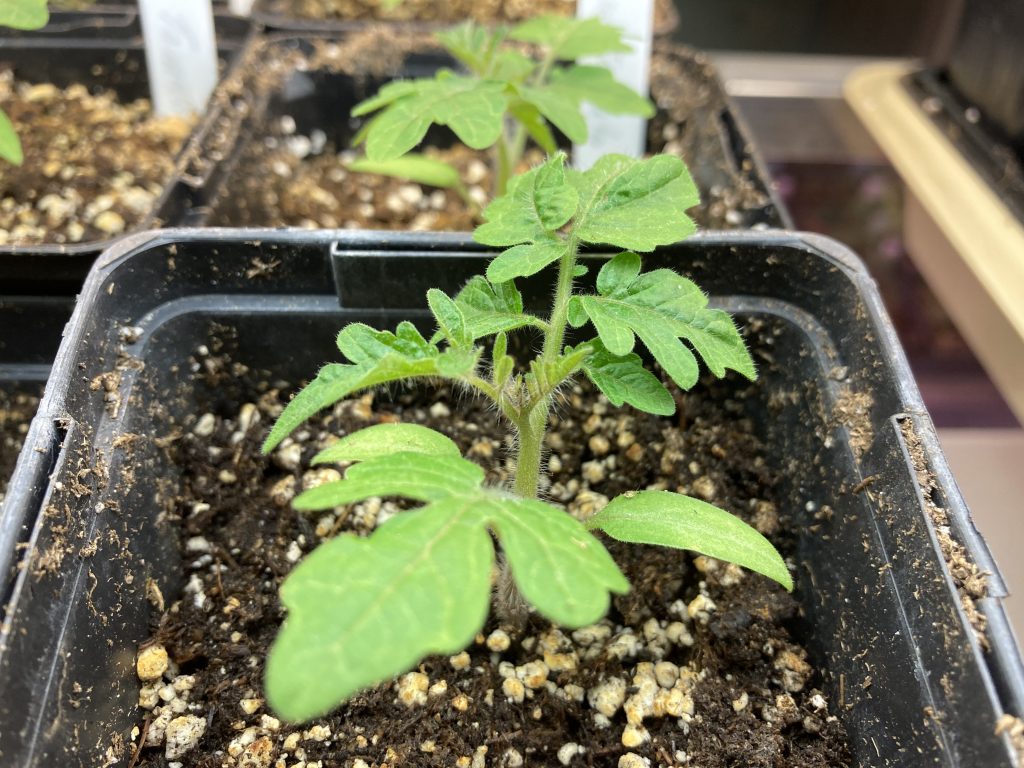
This little tomato was seeded early because it is called “house” tomato and it will thrive in a window inside a house. Seeded Jan 7, 2021, it already has a second set of true leaves by February 1, 2021. I expect it will start blooming in the next month and have it’s first tomatoes in May.
Step 9: Keep Track and Transplanting
Once little seedlings have their first true leaves they can be transplanted into their own cell or an individual pot. I love this stage and the only thing to be careful of is overwatering. Young seedlings need just a bit of water as they grow. Too much water can mean collapsing seedlings and they die from damping off disease.
More Help
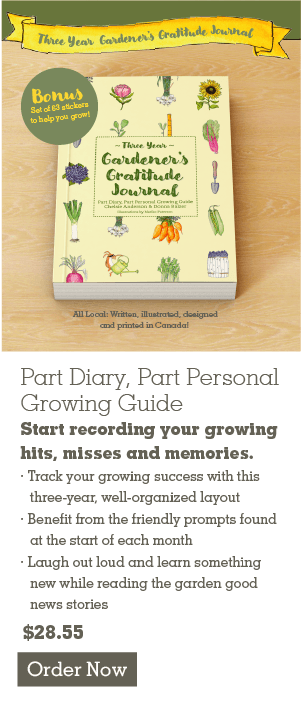
Keeping track of your garden projects with a journal or learning more about soils and seeding is all possible with the books available in my shop. Check them out now!

More help is available from my books for sale in my shop on this web page.

[supsystic-social-sharing id='1']


What Would Donna Do?
Get my growing and gardening tips and pointers throughout the season.
0 Comments