I help gardeners grow
& beginners blossom.
No seed left behind,
no soil unturned.
Together we can have lots of fun growing
great gardens using simple practical tips.
- Featured in -


Start saving & storing your garden seeds for a more more sustainable future
SIGN UP to get the FREE Seed packet PDF
X CLOSE
Handsome Homemade Wreaths
It all started with a big disappointment. I signed up for a wreath-making class and it was cancelled. Now what was I gonna do? Make my own wreath in my own rustic way?
Then came Jeannine. She used to teach wreath making but now works full-time as a gardener so has no time to teach. Instead, she asked me and then texted me… “How’s Saturday morning after the market?” .
“Yes! Sounds great” I replied.
So we were set to go. Making a wreath is something that made me nervous. I used to teach this with other instructors but it has been years and I just wanted help to get going again. So when Jeannine offered to help I was ecstatic.
Step 1 – Cut and Clip Greens

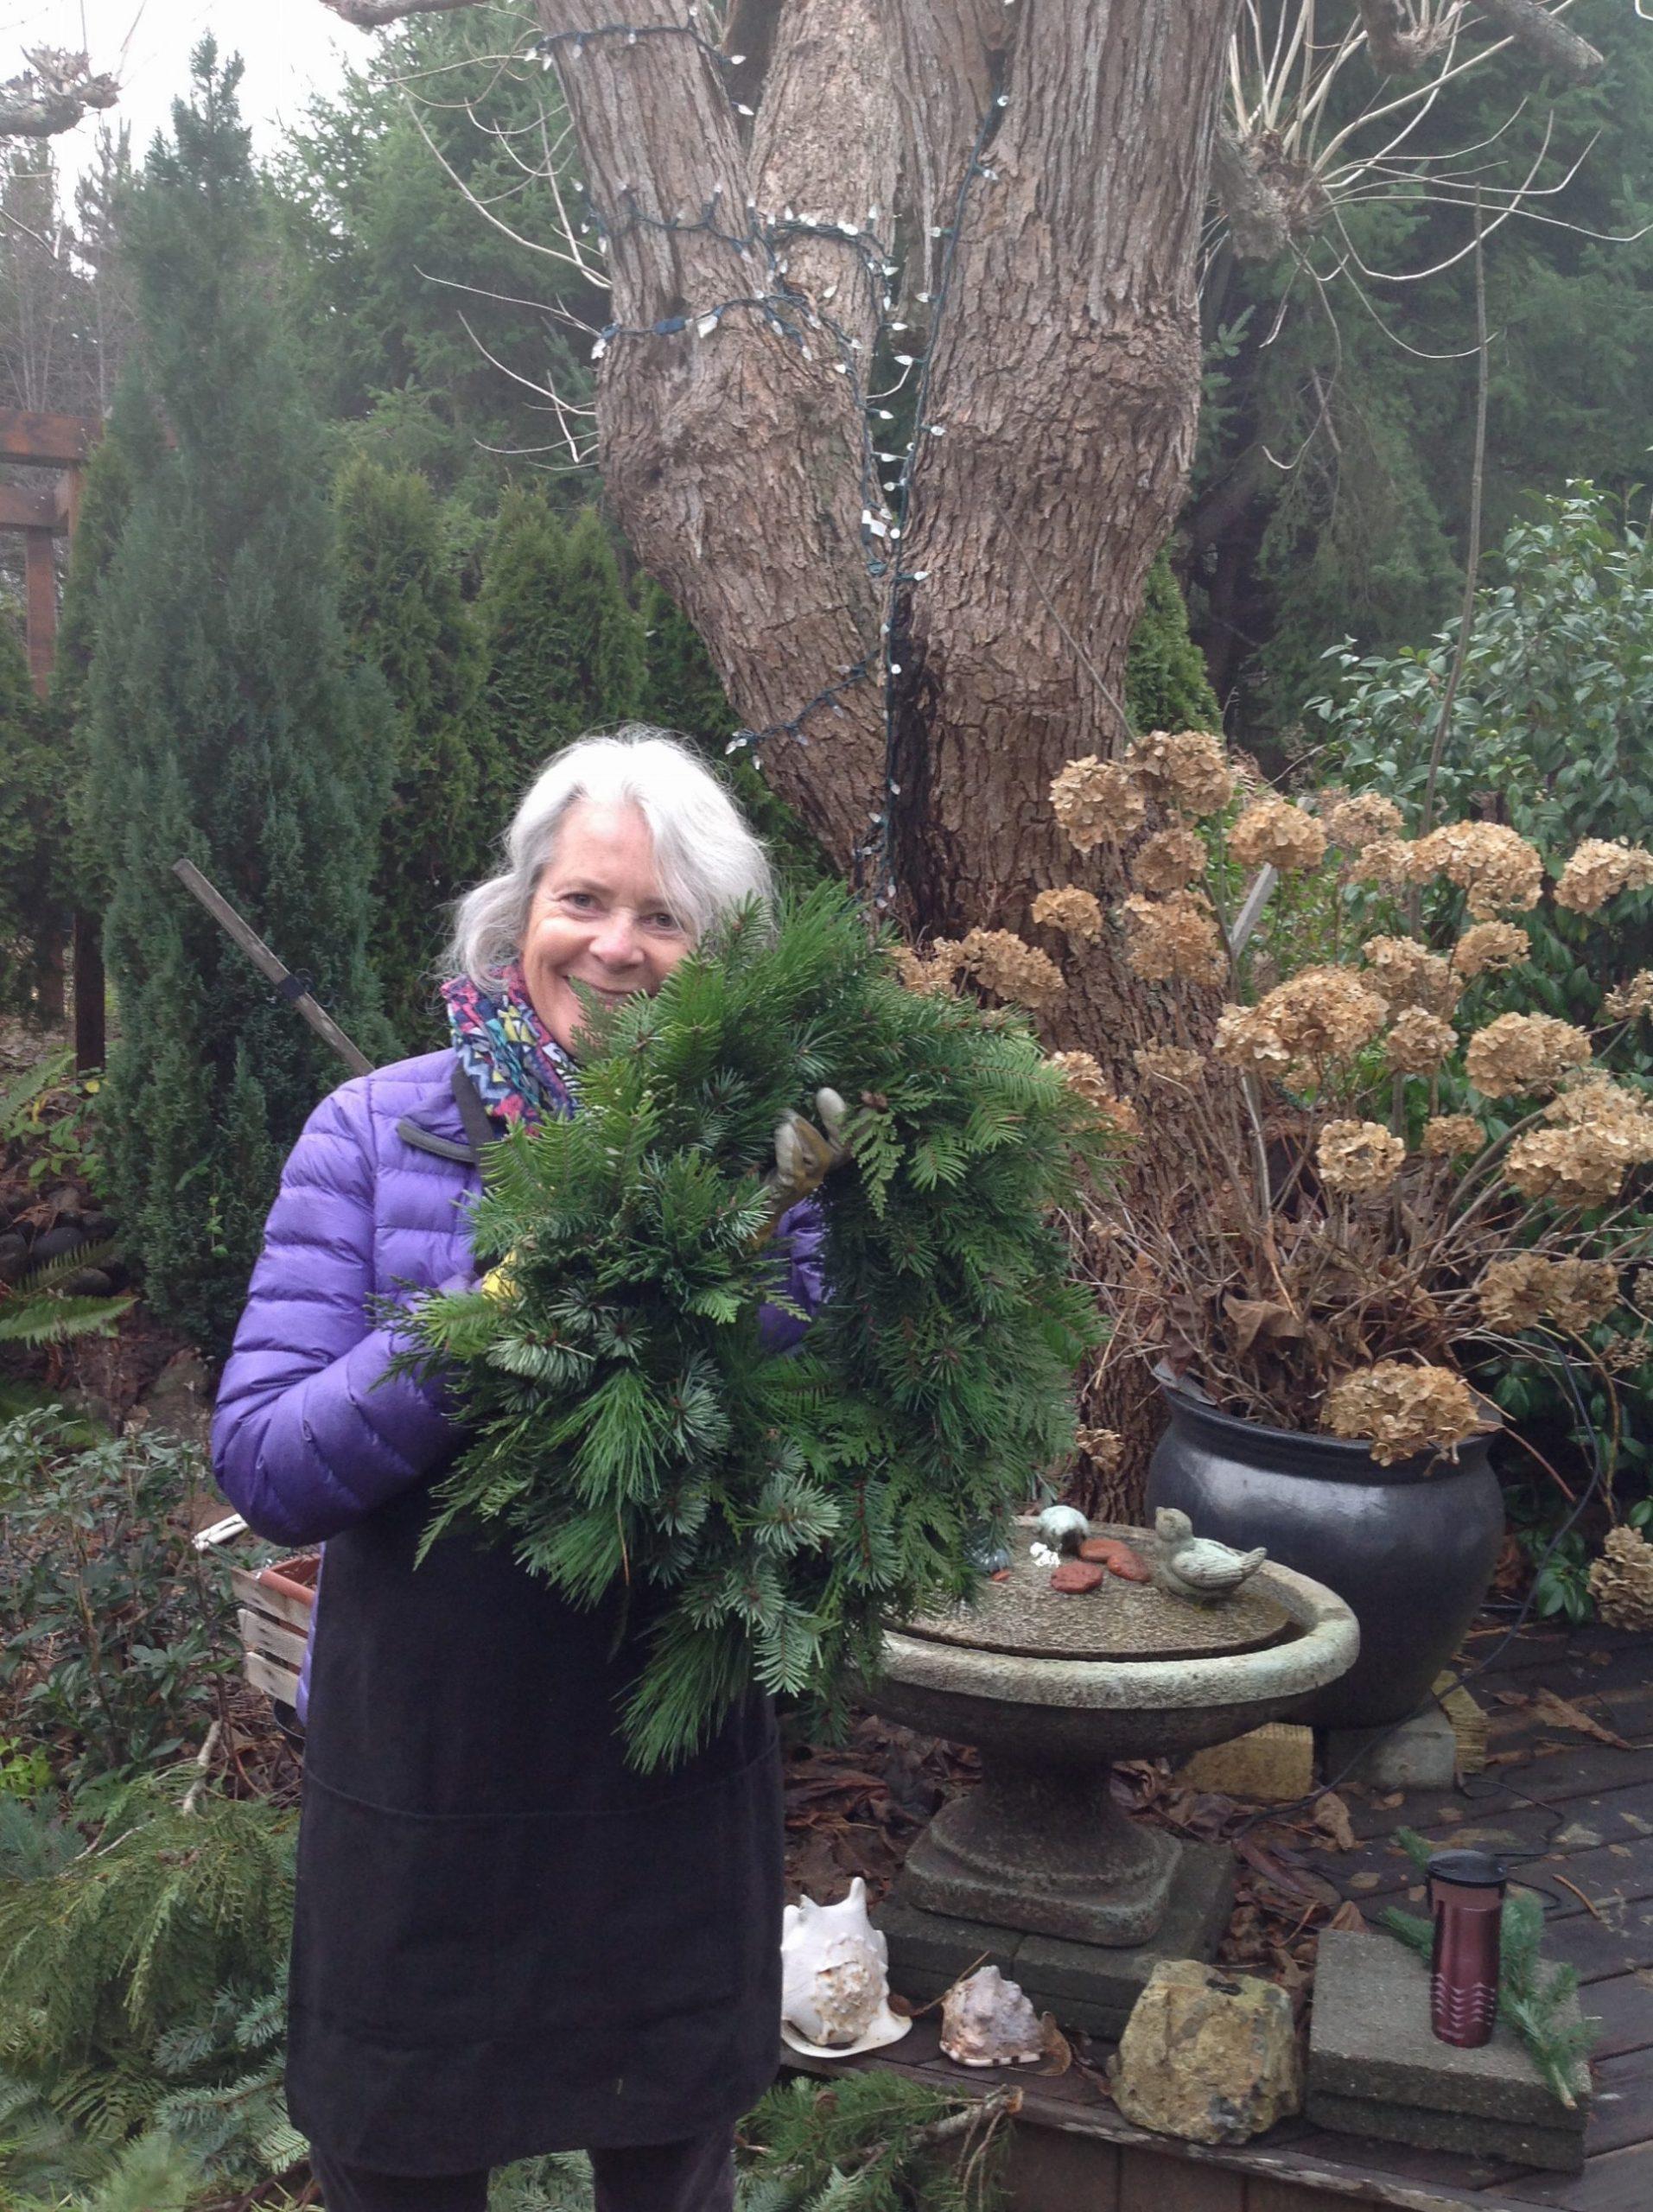
Collect and clip greens from your yard and along ditches and from your freind’s houses. These greens include a tiny pink cone forming on a white pine branch fir, and cedar. Jeannine likes to cut all the greens into piles before you begin. Each piece is as long as your hand – or about 8 inches (20 cm)
Step 2: Find a material to make a base ring out of. In Alberta I used to use long willow stems collected in ditches. In BC I use long twigs from my grape vines. Either way, this base will be hidden once construction begins so any long twig works. You simply twist it into a ring and pull the end through again and again to weave it into a circle.

Twisting the long branch into a circle is pretty rustic. Whether it bends or becomes an oval is no problem. Simply wrap it around from the outside to the inside and use whatever base you get. The circle base will be at least 12″ (30 cm) across in the centre.
3. Tie loose ends of central ring together with wire

Buy florist wire at Michaels. Jeannine like the 24 or 26 pound coated wire. If more than one person is making a wreath make sure to have a roll of wire for each person.

Step 4 Bundle greens in clumps into your left hand. Because the greens are precut, you can layer then together in a small bundle with one of each type of green you found and grabbing them with the left hand you hold them in place on the base of the ring and using the wire, wrap it around two or three times to connect the bundle of greens with the wreath base. Continue adding bundles of greens on top of the willow or grape frame as you move around the edge. Always keep greens on the top half. You don’t want some greens under the ring or it won’t lay flat on your wall.
 Jeannine and her sister Terry cut piles of greens and assemble them into little evergreen bundles that I then wire into place

Attaching bundles of greens one at a time makes a wreath fluffy and interesting.
Step 5 When you get to the last bundle of greens, make sure it is tucked under the first clump added then take a look. If it is thinner in one place, push the first bundle back and add another two or three under it.
Step 6- When the wreath is done you can decorate it with a bow or other greens.

Jeannine makes me a bow for my wreath. Her mother used to be a wedding planner so Jeannine has spent many hours volun-working for her mom as she was growing up. She has spent hours making bows and florist arrangements.

Once the bow is added we tuck in holly for interest

Hang and enjoy!

I decide to place my bow at the five-o’clock position.
What Would Donna Do?
Get my growing and gardening tips and pointers throughout the season.









0 Comments